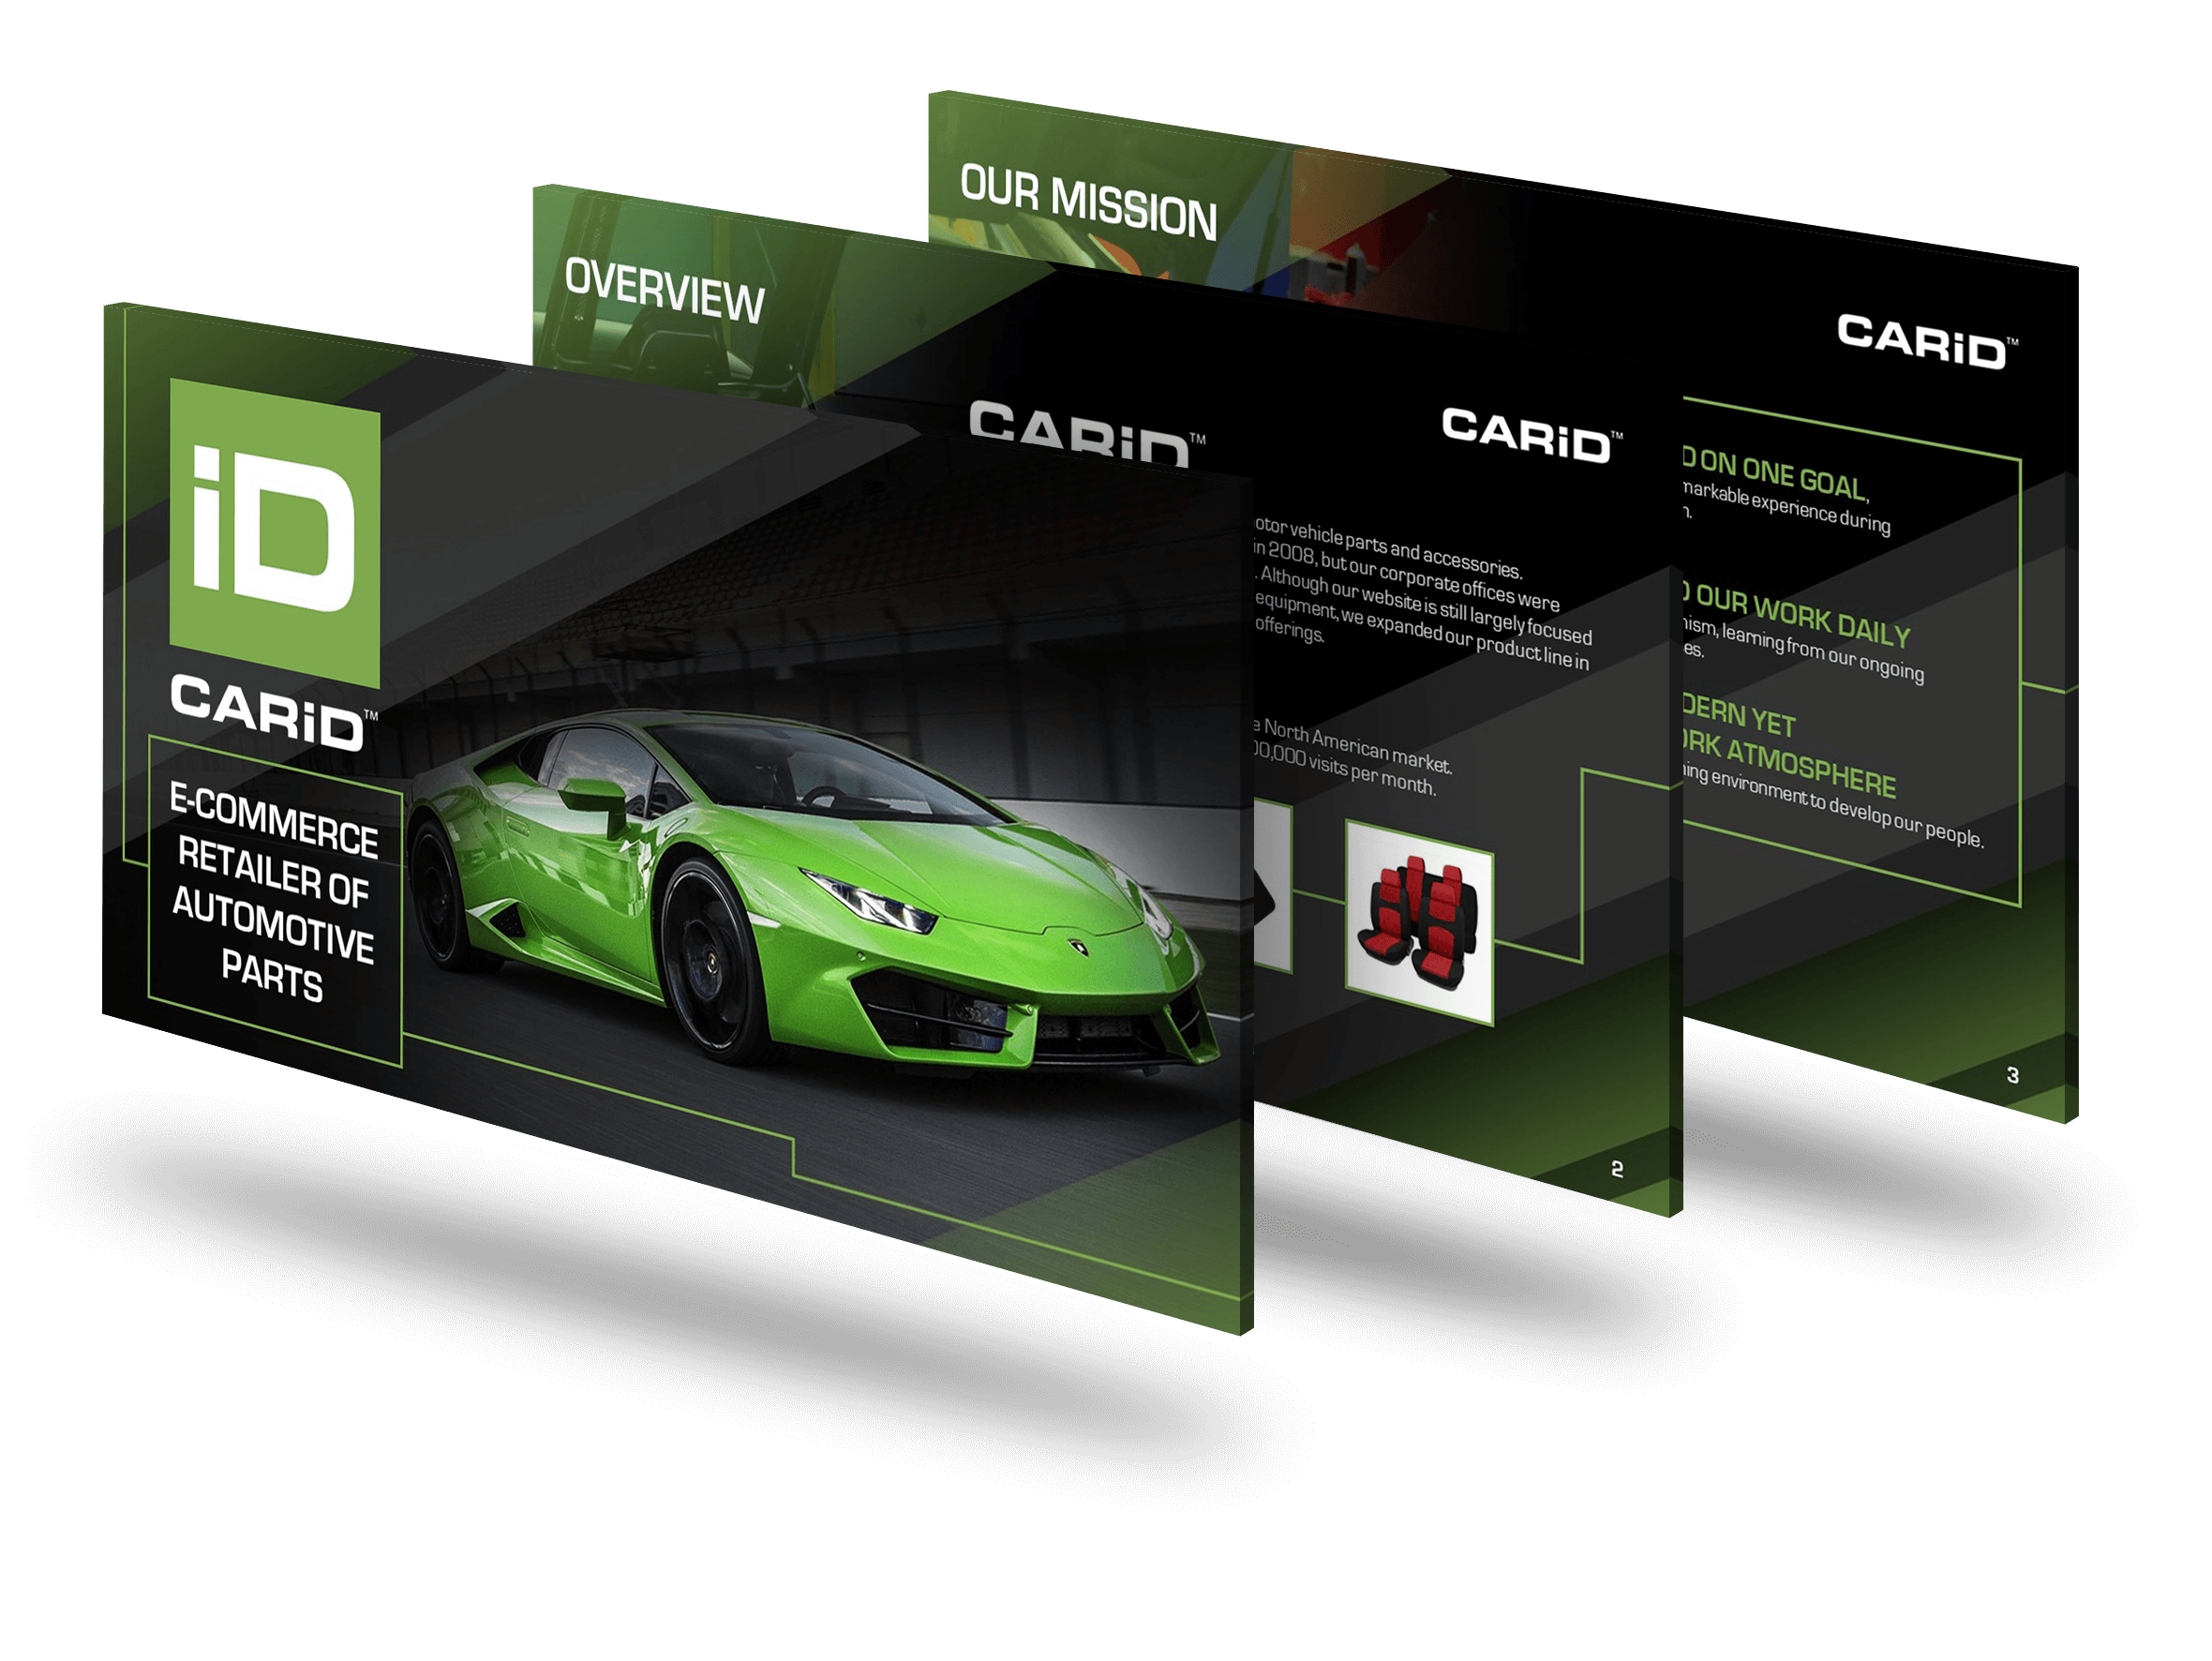
Creating an A3 poster in PowerPoint is a great option for crafting visually appealing content for events, promotions, or presentations. Here’s a step-by-step guide to help you create an A3 poster in PowerPoint:
Step 1: Set Up the Slide Dimensions
To match A3 size, you need to adjust the dimensions of your PowerPoint slide.
-
Open PowerPoint and start a new presentation.
-
Go to the Design Tab:
- In the Design tab, click Slide Size in the right-hand corner.
- Choose Custom Slide Size from the dropdown menu.
-
Enter A3 Dimensions:
- In the Slide Size dialog box, set the dimensions for an A3 poster:
- Width: 29.7 cm (11.7 inches)
- Height: 42 cm (16.5 inches)
- You can choose between Portrait or Landscape orientation, depending on your design needs.
- In the Slide Size dialog box, set the dimensions for an A3 poster:
-
Click OK:
- A dialog box may appear asking if you want to maximize or ensure the content fits. Choose Ensure Fit if you are starting from scratch.
Step 2: Design the Background
-
Set a Solid Background Color:
- Go to the Design tab, click Format Background, and choose a solid color for the background under Fill.
- Select a color that complements your content (e.g., light colors for readability, bold colors for visual impact).
-
Use a Gradient or Picture Background (Optional):
- In the Format Background pane, you can also choose a Gradient Fill for a more dynamic look or a Picture Fill if you want to use an image as your poster’s background.
- For a picture background, go to Insert > Pictures to choose an image from your computer.
-
Adjust Transparency (Optional):
- If the background image is too strong, adjust the Transparency slider in the Format Background pane to make the image more subtle.
Step 3: Add Titles and Text
-
Insert Text Boxes for Titles:
- Go to Insert > Text Box and draw a text box for your poster title.
- Type the title of your poster and format the text by adjusting the font, size, color, and alignment in the Home tab.
- Use large fonts for the title, usually around 80-100 pt so it’s legible from a distance.
-
Add Subtitles or Additional Text:
- Insert additional text boxes for subtitles, sections, or descriptions.
- Ensure your main content text is readable, typically using 24-36 pt for body text.
-
Align Text Properly:
- Make use of the Align tool in the Shape Format tab to center or align the text boxes and ensure a clean layout.
- If needed, enable Gridlines and Guides under the View tab to align elements more easily.
Step 4: Add Visual Elements (Images, Shapes, Icons)
-
Insert Images:
- Go to Insert > Pictures and choose images from your computer or use Online Pictures to add high-quality visuals relevant to your poster.
- Resize and position the images by dragging the corners, holding Shift to maintain proportions.
-
Insert Shapes for Design Elements:
- Go to Insert > Shapes to add rectangles, circles, or lines as design elements or section dividers on the poster.
- Customize the color of the shapes using the Shape Fill and Shape Outline options in the Shape Format tab.
-
Use Icons for a Modern Look:
- Go to Insert > Icons to add vector icons from PowerPoint’s built-in library.
- Icons can add visual interest to your poster and help represent information more effectively.
Step 5: Design for Readability and Visual Appeal
-
Ensure Font Legibility:
- Use fonts that are easy to read from a distance. Bold and sans-serif fonts (e.g., Arial, Calibri) often work best for posters.
- Avoid overcrowding the poster with too much text; use bullet points or short sentences for key information.
-
Maintain Consistent Design:
- Use a consistent color scheme, font size, and style throughout the poster. This will make your design look professional and cohesive.
- Ensure there’s sufficient contrast between the text and background to enhance readability (e.g., dark text on a light background).
-
Create a Visual Hierarchy:
- Emphasize important information (such as the title or key message) by using larger fonts, bold text, or contrasting colors.
- Arrange elements in a logical flow, such as from top to bottom or left to right, guiding the viewer’s eyes naturally across the poster.
Step 6: Final Review and Adjustments
-
Check Alignment:
- Make sure all text boxes, images, and shapes are properly aligned and spaced out evenly.
- Use the Align tool in the Shape Format tab to center elements on the page or distribute them evenly.
-
Proofread:
- Double-check all the text for spelling, grammar, and clarity. Ensure your poster conveys the message effectively without unnecessary complexity.
Step 7: Save and Print the Poster
-
Save the PowerPoint File:
- Go to File > Save As and save the presentation as a .pptx file for further editing.
-
Export as PDF:
- For high-quality printing, go to File > Save As and choose PDF as the file format.
- PDF files preserve the layout, fonts, and images better, ensuring that the design looks perfect when printed.
-
Print the Poster:
- Print the PDF on A3 paper (29.7 cm x 42 cm), or send the file to a professional print shop for a high-quality print on glossy or matte stock.
Additional Tips:
- Whitespace: Don’t overcrowd the poster. Leave enough whitespace to avoid visual clutter and make key elements stand out.
- High-Resolution Images: Use high-resolution images to avoid pixelation when printing, especially since A3 is a large format.
- Contrast: Ensure there’s a strong contrast between text and background to make the poster easy to read.
By following these steps, you can create a visually striking and effective A3 poster in PowerPoint that is well-suited for a variety of applications like events, educational displays, or marketing promotions.
View Our Presentation Portfolio


